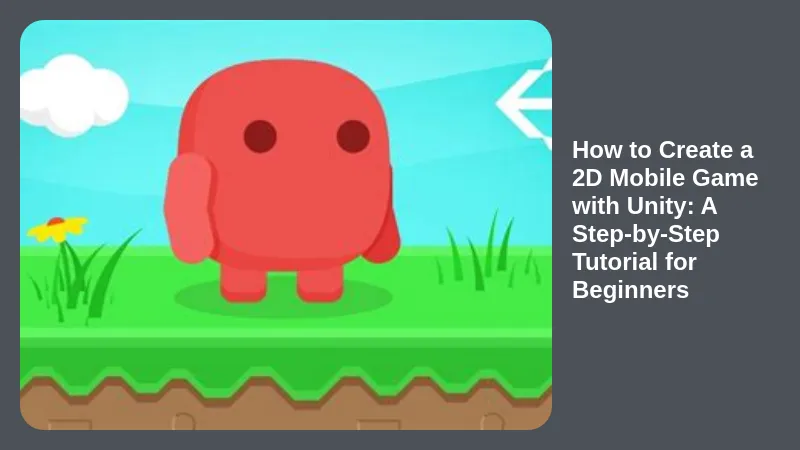
Are you excited to bring your game ideas to life but don’t know where to start? This comprehensive guide will walk you through the process of creating a 2D mobile game using Unity, even if you’re a complete beginner.
Setting Up Your Development Environment: Unity Installation and Project Setup
Before you can start coding, you need to set up your development environment. This means getting Unity and configuring your project.
-
Download and Install Unity: Head over to the official Unity website (https://unity.com/) and download the latest version of Unity Hub. The Unity Hub acts as your central point for managing your Unity projects and installations.
-
Create a New Project: Launch Unity Hub and click on “New Project.” Choose a 2D project template. Select a location on your computer to save your project. A new project window will open, ready for you to start building your game.
Unity’s interface can seem daunting at first, but it’s designed to be user-friendly once you understand the key components.
-
Scene View: This is where you visually design and build your game’s levels, objects, and characters. Here, you can place, rotate, and scale your game elements.
-
Game View: The Game View is your real-time preview of your game. It shows you how your game looks and plays as you develop it.
-
Project Panel: This panel holds all your game’s assets, including scripts, images, sounds, and 3D models. Think of it as your game’s “toolbox.”
-
Inspector Panel: The Inspector panel provides detailed information about the object you have selected in the Scene or Game view. You can use it to edit properties, add components, and fine-tune your game’s elements.
Creating Your Game World: Building a 2D Level with Sprites
Now it’s time to design your game’s world! You’ll use sprites, which are 2D images, to create your background, characters, and other elements.
-
Import Your Sprites: You can use pre-made sprites from online stores or create your own using art software like Photoshop or GIMP. To import your sprites, drag and drop them into the Project Panel or use the “Import Asset” option.
-
Creating the Background: Drag a sprite from the Project Panel into the Scene View. This will be your game’s background. Use the Inspector Panel to adjust its size and position.
-
Adding Foreground Elements: Add more sprites for foreground elements like platforms, obstacles, and other objects. You can use these to create an engaging and visually appealing level for your player to navigate.
Adding Interactivity: Introducing Scripting with C
To make your game interactive, you’ll need to use programming. Unity uses the C# programming language. Let’s learn the basics.
-
Creating a Script: Click on “Create” > “C# Script” in the Project Panel. This will create a new C# script file.
-
Writing Your Code: Double-click the script to open it in a text editor. C# code consists of instructions for your game. For example, you might create a script to control your character’s movement, add scoring, or manage enemies.
-
Attaching Scripts to Objects: To apply a script to an object in your game, select the object in the Scene View and drag the script from the Project Panel onto it.
Moving Your Character: Programming Simple Movement Mechanics
Let’s make your character move around the game world! Here’s a basic C# script for horizontal movement:
using UnityEngine;

public class PlayerMovement : MonoBehaviour
{
    public float speed = 5f;

    void Update()
    {
        // Get input from the player
        float horizontalInput = Input.GetAxis("Horizontal");

        // Move the character horizontally
        transform.position += new Vector3(horizontalInput * speed * Time.deltaTime, 0, 0);
    }
}
Explanation:
using UnityEngine;includes Unity’s core library.public class PlayerMovement : MonoBehaviourdeclares the class name and inherits fromMonoBehaviour(a base class for game objects).public float speed = 5f;sets a variable to control movement speed.void Update()is called every frame.Input.GetAxis("Horizontal")gets keyboard input (left/right).transform.position += new Vector3(...)moves the character.
Attach this script to your player object, and you’ll be able to move it left and right with the arrow keys!
Adding Challenges: Creating Enemies and Obstacles
To make your game more fun, let’s introduce enemies and obstacles.
-
Enemy Sprites: Import enemy sprites into your Project Panel.
-
Creating Enemies: Drag and drop an enemy sprite into your Scene View. You can use the Inspector to set its position and scale.
-
Enemy Movement: Create a new C# script to control your enemy’s movement. You might have them move back and forth, chase the player, or follow a set path.
-
Obstacles: Add obstacles like walls, pits, or spikes by placing sprite objects into your scene. Use the Inspector to set their properties.
-
Collision Detection: Use C# scripts to detect collisions between your player and enemies or obstacles. You can trigger different events, like ending the game or inflicting damage to the player.
Designing Your Game: Creating User Interface and Sound Effects
A good game needs visually appealing user interface (UI) elements and immersive sound effects.
-
Creating a UI Canvas: In Unity, go to “GameObject” > “UI” > “Canvas.” This will create a UI Canvas where you can place your UI elements.
-
Adding UI Elements: Use “GameObject” > “UI” to add elements like text, buttons, images, and sliders.
-
Sound Effects: Import your sound effects into the Project Panel. Attach a sound effect to your player’s movement, enemy attacks, and other events.
Testing Your Game: Ensuring It Plays Well and Runs Smoothly
It’s important to test your game regularly to catch bugs and ensure a smooth player experience.
-
Play Mode: Click the “Play” button in the Unity editor to enter Play Mode and test your game in real-time.
-
Device Testing: After testing on your computer, make sure to test your game on different mobile devices to ensure compatibility and performance.
-
Bug Fixing: Identify and fix any issues you discover during testing. Use the Unity debugger to help you track down problems.
Building Your Game: Exporting and Preparing for Release
Once your game is complete and tested, you need to build it for distribution.
-
Build Settings: Go to “File” > “Build Settings.” Select “Android” or “iOS” as your platform.
-
Exporting: Click on “Build” to begin the export process. Unity will create a file that you can upload to the Google Play Store or Apple App Store.
Conclusion: Congratulations! You’ve Created Your First 2D Mobile Game
You’ve just taken the first step in your game development journey! Now, you have a solid foundation in Unity and can start exploring more advanced techniques and creating even more complex and exciting games.
Remember, creating games is a journey of learning and exploration. There’s always more to discover and improve. Keep practicing, stay curious, and have fun!


